Icon Packages
Eva Icons is a pack of beautifully crafted Open Source icons for common actions and items. UI Kitten has its own module to run it in React Native, adopting for better usage with UI Kitten components. If you're not interested in using Eva Icons, learn how to integrate 3rd party Icon packages.
Eva Icons
Let's start with installing Eva Icons and its required dependencies.
npm i @ui-kitten/eva-icons react-native-svg

// Using Yarn?
// yarn add @ui-kitten/eva-icons react-native-svg
If you use Expo, you should use expo install react-native-svg to install svg package.
Within non-expo environment, we also need to complete installation for iOS by linking react-native-svg.
cd ios && pod install
Now you should have all in place. We need to restart the bundler to apply the changes. Go back to the root application directory, shut down the current bundler and restart with clearing cache.
npm start -- --reset-cache

// Using Expo?
// expo start -c
Register Icons
Open App.js and paste the code below.
import React from 'react';
import * as eva from '@ui-kitten/eva';
import { ApplicationProvider, IconRegistry, Layout, Text } from '@ui-kitten/components';
import { EvaIconsPack } from '@ui-kitten/eva-icons';

const HomeScreen = () => (
  <Layout style={{flex: 1, justifyContent: 'center', alignItems: 'center'}}>
    <Text category='h1'>HOME</Text>
  </Layout>
);

export default () => (
  <>
    <IconRegistry icons={EvaIconsPack} />
    <ApplicationProvider {...eva} theme={eva.light}>
      <HomeScreen />
    </ApplicationProvider>
  </>
);
That's it. Let's see how it can be used in the project.
Usage
import React from 'react';
import { Button, Icon } from '@ui-kitten/components';

const FacebookIcon = (props) => (
  <Icon name='facebook' {...props} />
);

export const LoginButton = () => (
  <Button accessoryLeft={FacebookIcon}>Login with Facebook</Button>
);
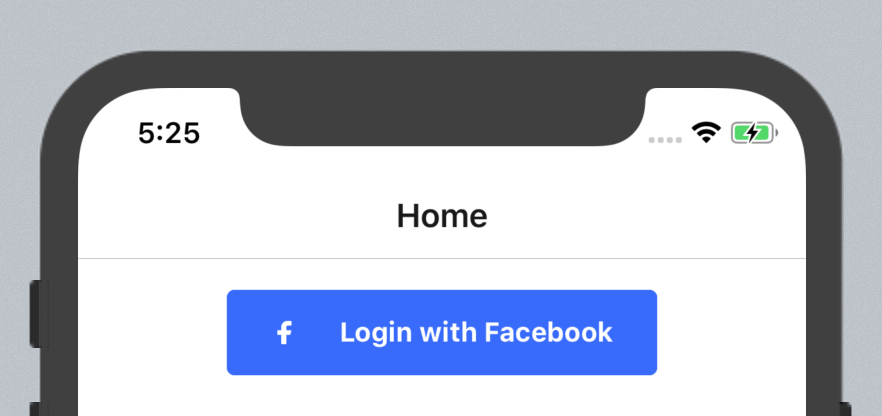
As a result, you should have a Button looking similar to this:
The complete list of available icons could be found on Eva Icons page.
Bundle only the icons you use
EvaIconsPack registers all 490 icons, and Metro puts every one of them in the bundle whether the app renders them or not. To ship only the icons an app uses, import them one by one and build a pack from that list:
import { createEvaIconsPack } from '@ui-kitten/eva-icons';
import home from '@ui-kitten/eva-icons/icons/home';
import star from '@ui-kitten/eva-icons/icons/star';

export const AppIconsPack = createEvaIconsPack([home, star]);
Register AppIconsPack in place of EvaIconsPack and use the icons as before: <Icon name='star' />. The registry reports any icon that is not in the list, so a missing import shows up as an error rather than an empty box. Module names match the icon names on the Eva Icons page: arrow-back-outline is @ui-kitten/eva-icons/icons/arrow-back-outline.
Render an icon outside of Icon
Each icon module is plain data. Pass it to EvaIcon, or wrap it once with createEvaIcon, to render it without the registry:
import { EvaIcon, createEvaIcon } from '@ui-kitten/eva-icons';
import star from '@ui-kitten/eva-icons/icons/star';

const Star = createEvaIcon(star);

export const Rating = () => (
  <>
    <EvaIcon icon={star} fill='#FFAA00' width={24} height={24} />
    <Star fill='#FFAA00' width={24} height={24} />
  </>
);
3rd party Icon packages
If you're not interested in using Eva Icons, learn how to integrate UI Kitten with other icon packages with a simple 3 steps.
Installation
For this example, let's install react-native-vector-icons library. Refer to the official guide to install it.
Create Icon Adapter
After icon package is installed and you have everything in place, we need to create a mapping object, that can draw an icon by its name. Let's create a feather-icons.js file and place there the following code.
import React from 'react';
import { StyleSheet } from 'react-native';
import Icon from 'react-native-vector-icons/Feather';

export const FeatherIconsPack = {
  name: 'feather',
  icons: createIconsMap(),
};

function createIconsMap() {
  return new Proxy({}, {
    get(target, name) {
      return IconProvider(name);
    },
  });
}

const IconProvider = (name) => ({
  toReactElement: (props) => FeatherIcon({ name, ...props }),
});

function FeatherIcon({ name, style }) {
  const { height, tintColor, ...iconStyle } = StyleSheet.flatten(style);
  return (
    <Icon name={name} size={height} color={tintColor} style={iconStyle} />
  );
}
With the code above we create a Proxy object, that will direct requested icon to render FeatherIcon by requested name.
Register Icons
Open App.js and paste the code below.
import React from 'react';
import * as eva from '@ui-kitten/eva';
import { ApplicationProvider, IconRegistry, Layout, Text } from '@ui-kitten/components';
import { FeatherIconsPack } from './feather-icons';

const HomeScreen = () => (
  <Layout style={{flex: 1, justifyContent: 'center', alignItems: 'center'}}>
    <Text category='h1'>HOME</Text>
  </Layout>
);

export default () => (
  <>
    <IconRegistry icons={FeatherIconsPack} />
    <ApplicationProvider {...eva} theme={eva.light}>
      <HomeScreen />
    </ApplicationProvider>
  </>
);
That's it. Let's see how it can be used in the project.
Usage
import React from 'react';
import { Button, Icon } from '@ui-kitten/components';

export const FacebookIcon = (props) => (
  <Icon name='facebook' {...props} />
);

export const LoginButton = () => (
  <Button accessoryLeft={FacebookIcon}>Login with Facebook</Button>
);
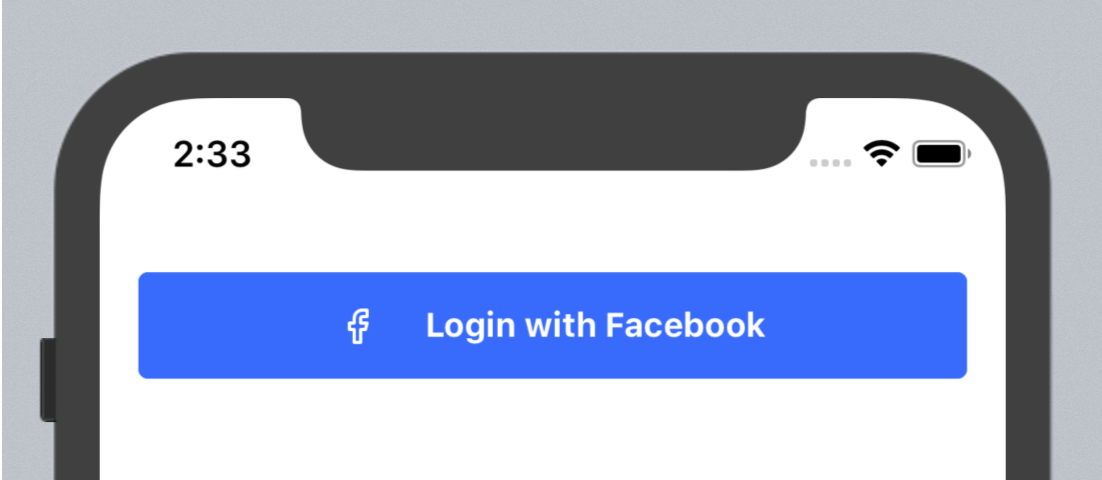
As a result, you should have a Button looking similar to this:
Multiple Icon packages
UI Kitten API allows you to register multiple icon packages. Let's also create a Material Icons provider.
With a similar to 3rd party Icon packages guide way, create a Material Icons provider.
import React from 'react';
import { StyleSheet } from 'react-native';
import Icon from 'react-native-vector-icons/MaterialIcons';

export const MaterialIconsPack = {
  name: 'material',
  icons: createIconsMap(),
};

function createIconsMap() {
  return new Proxy({}, {
    get(target, name) {
      return IconProvider(name);
    },
  });
}

const IconProvider = (name) => ({
  toReactElement: (props) => MaterialIcon({ name, ...props }),
});

function MaterialIcon({ name, style }) {
  const { height, tintColor, ...iconStyle } = StyleSheet.flatten(style);
  return (
    <Icon name={name} size={height} color={tintColor} style={iconStyle} />
  );
}
Register Icons
By passing an array of icon packs, we can register it in the application:
import React from 'react';
import * as eva from '@ui-kitten/eva';
import { ApplicationProvider, IconRegistry, Layout, Text } from '@ui-kitten/components';
import { FeatherIconsPack } from './feather-icons'; // <-- Import Feather icons
import { MaterialIconsPack } from './material-icons'; // <-- Import Material icons

const HomeScreen = () => (
  <Layout style={{flex: 1, justifyContent: 'center', alignItems: 'center'}}>
    <Text category='h1'>HOME</Text>
  </Layout>
);

export default () => (
  <>
    <IconRegistry icons={[FeatherIconsPack, MaterialIconsPack]}/>
    <ApplicationProvider {...eva} theme={eva.light}>
      <HomeScreen />
    </ApplicationProvider>
  </>
);
Usage
When using multiple icon packages, you're able to choose an icon library with simply changing pack property.
import React from 'react';
import { Button, Icon } from '@ui-kitten/components';

export const HomeIcon = (props) => (
  <Icon {...props} name='home' pack='material' />
);

export const HomeButton = () => (
  <Button accessoryLeft={HomeIcon}>Home</Button>
);
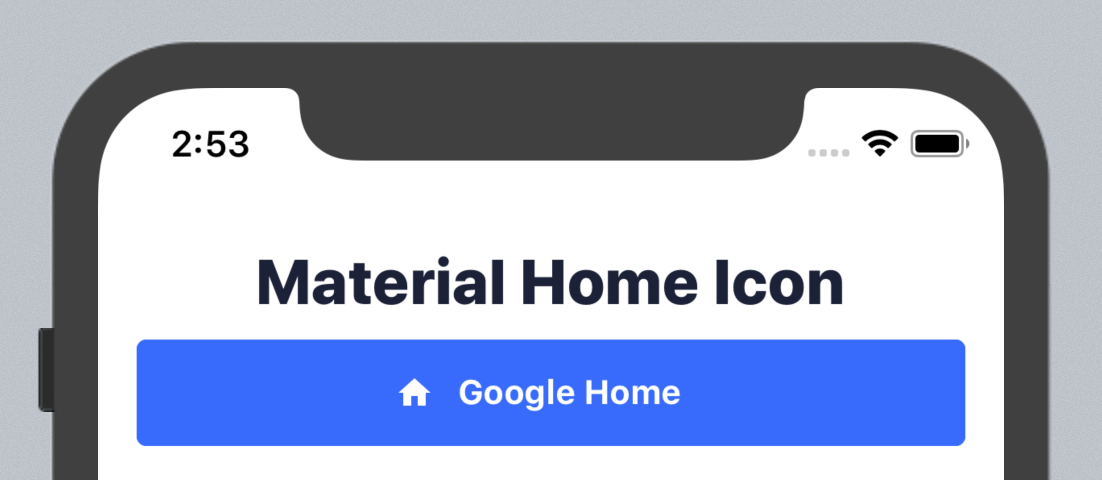
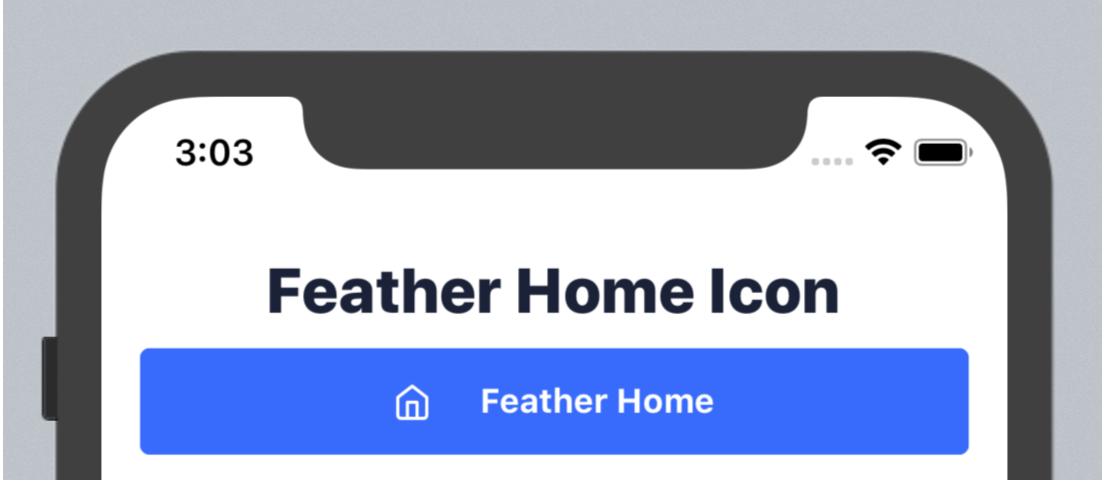
That's it. Here is a result that you might have:
Material Icons
Feather Icons
Tip: Asset Icon Package
By using same technique, this may be also useful to create an Icon package for all of available icons in assets.
With a similar to 3rd party Icon packages guide way, create an Asset Icons provider.
import React from 'react';
import { Image } from 'react-native';

const IconProvider = (source) => ({
  toReactElement: ({ animation, ...props }) => (
    <Image {...props} source={source}/>
  ),
});

export const AssetIconsPack = {
  name: 'assets',
  icons: {
    'github': IconProvider(require('../assets/images/github.png')),
    'color-palette': IconProvider(require('../assets/images/color-palette.png')),
    // ...
  },
};
Register Icons
By passing an array of icon packs, we can register it in the application:
import React from 'react';
import * as eva from '@ui-kitten/eva';
import { ApplicationProvider, IconRegistry, Layout, Text } from '@ui-kitten/components';
import { EvaIconsPack } from '@ui-kitten/eva-icons';
import { AssetIconsPack } from './asset-icons'; // <-- Import Asset icons

const HomeScreen = () => (
  <Layout style={{flex: 1, justifyContent: 'center', alignItems: 'center'}}>
    <Text category='h1'>HOME</Text>
  </Layout>
);

export default () => (
  <>
    <IconRegistry icons={[EvaIconsPack, AssetIconsPack]}/>
    <ApplicationProvider {...eva} theme={eva.light}>
      <HomeScreen />
    </ApplicationProvider>
  </>
);
Usage
When using multiple icon packages, you're able to choose an icon library with simply changing pack property.
import React from 'react';
import { Button, Icon } from '@ui-kitten/components';

export const GithubIcon = (props) => (
  <Icon {...props} name='github' pack='assets' />
);

export const GithubButton = () => (
  <Button accessoryLeft={GithubIcon}>View Github</Button>
);
Conclusion
In this guide, you learned how to use UI Kitten Icon component. Since Eva Icons relies on svg icons, consider reading react-native-svg documentation to become more familiar with it.
Next, when UI part is configured, let's move to the next guide to configure navigation.