Branding
UI Kitten supports 2 visual themes provided by Eva Design System: Light and Dark. Both of them are designed to use as default themes in your products and may be used as a core theme, when needed to build a custom, branded solution.
In this guide, we will learn how to create a custom theme, apply fonts and give an explanation on how theme variables are used within Eva. If your team has a designer, it may be useful to see the original Sketch file (it's free).
We strongly recommend paying enough attention on this guide in order to have better developer experience when using UI Kitten.
Before we start, let's pretend we want to create a deep orange theme. Just like the one used in this documentation, but with the dark mode in mind. If your application relies on a light theme, the same technique may be used.
Primary Color
Primary color defines the brand color of the product and shows-up its the main look and feel.
In Eva, there are 6 semantic colors: basic, primary, success, info, warning, and danger. In general, Primary and Basic colors are the main colors within the semantic group and are used by each component in its default state. For instance, buttons in its default state are primary, and Inputs are basic. Inputs become primary when the user starts interacting.
The easiest way to create UI Kitten theme is to use Eva Colors - a deep learning color generator. Start with picking the primary color. Our choice is orange.
The same way you can pick the rest of semantic colors. In this example, we just trust the color generator and leave it as it is. When the theme is ready, click the Export button and select JSON option.
Copy the downloaded file into your project. To apply a theme, we should choose the theme provided by Eva to use it as a core for ours. In order to build dark theme, use eva.dark or eva.light otherwise. Our choice is dark.
import React from 'react';
import * as eva from '@ui-kitten/eva';
import { ApplicationProvider, Layout, Button } from '@ui-kitten/components';
import { default as theme } from './theme.json'; // <-- Import app theme

export default () => (
  <ApplicationProvider {...eva} theme={{ ...eva.dark, ...theme }}>
    <Layout style={{ flex: 1, justifyContent: 'center', alignItems: 'center' }}>
      <Button>HOME</Button>
    </Layout>
  </ApplicationProvider>
);
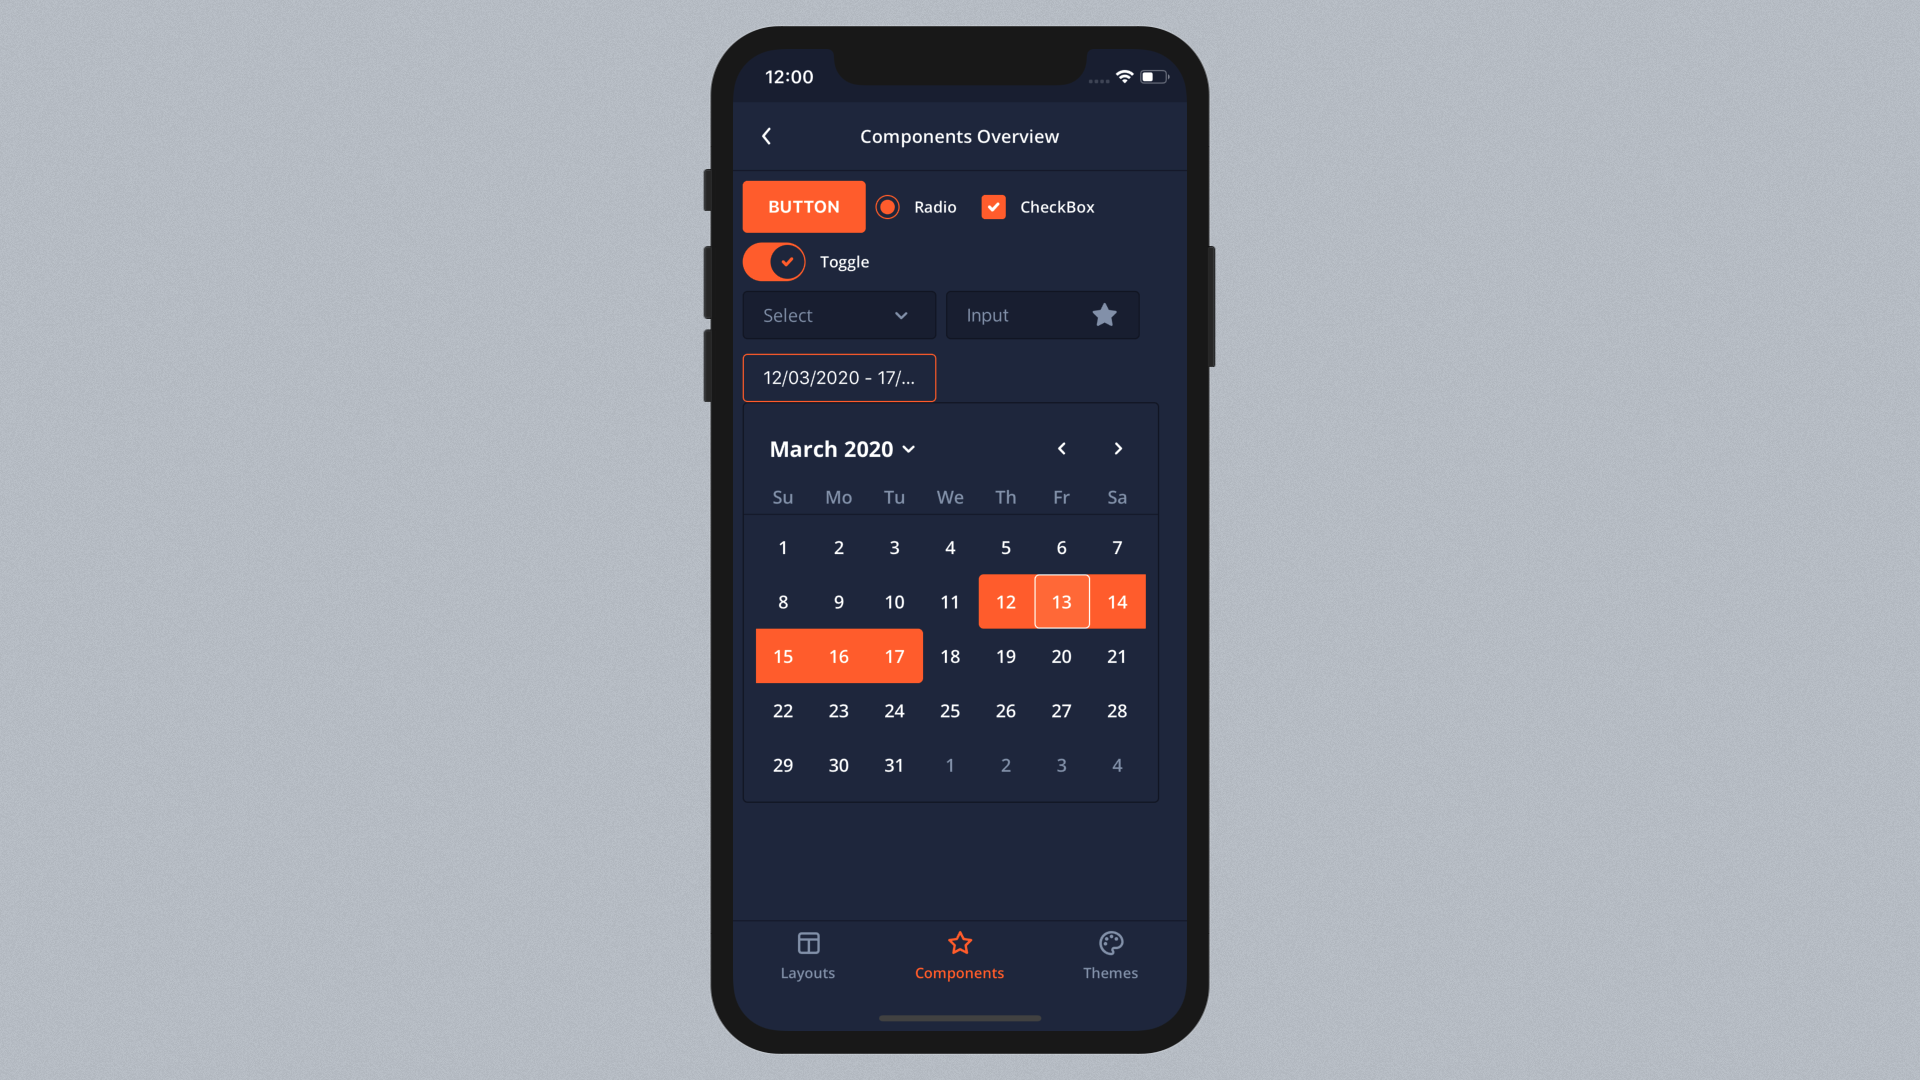
With a single step by configuring primary color, we made UI Kitten components be orange.
Backgrounds and Borders
Backgrounds and borders are controlled with Basic color.
There are 11 shades of Basic color. In order to change backgrounds properly, each of them should be configured. To do this, we may get back to Eva Colors. Start with choosing the lightest shade of the background (usually, it is completely white in light themes) and move down accurately by picking darker shades. Paste each color into theme.json like in the example below.
{
  "color-basic-100": "#FFFFFF",
  "color-basic-200": "#F5F5F5",
  "color-basic-300": "#F5F5F5",
  "color-basic-400": "#D4D4D4",
  "color-basic-500": "#B3B3B3",
  "color-basic-600": "#808080",
  "color-basic-700": "#4A4A4A",
  "color-basic-800": "#383838",
  "color-basic-900": "#292929",
  "color-basic-1000": "#1F1F1F",
  "color-basic-1100": "#141414"
}
There are 6 shades of transparency in Eva. Pick color-basic-600 value and transform it to rgba format with adding an alpha channel. In Eva, we start with 8% transparency and move up with increasing it on the same value.
{
   "color-basic-transparent-100": "rgba(128, 128, 128, 0.08)",
   "color-basic-transparent-200": "rgba(128, 128, 128, 0.16)",
   "color-basic-transparent-300": "rgba(128, 128, 128, 0.24)",
   "color-basic-transparent-400": "rgba(128, 128, 128, 0.32)",
   "color-basic-transparent-500": "rgba(128, 128, 128, 0.4)",
   "color-basic-transparent-600": "rgba(128, 128, 128, 0.48)"
}
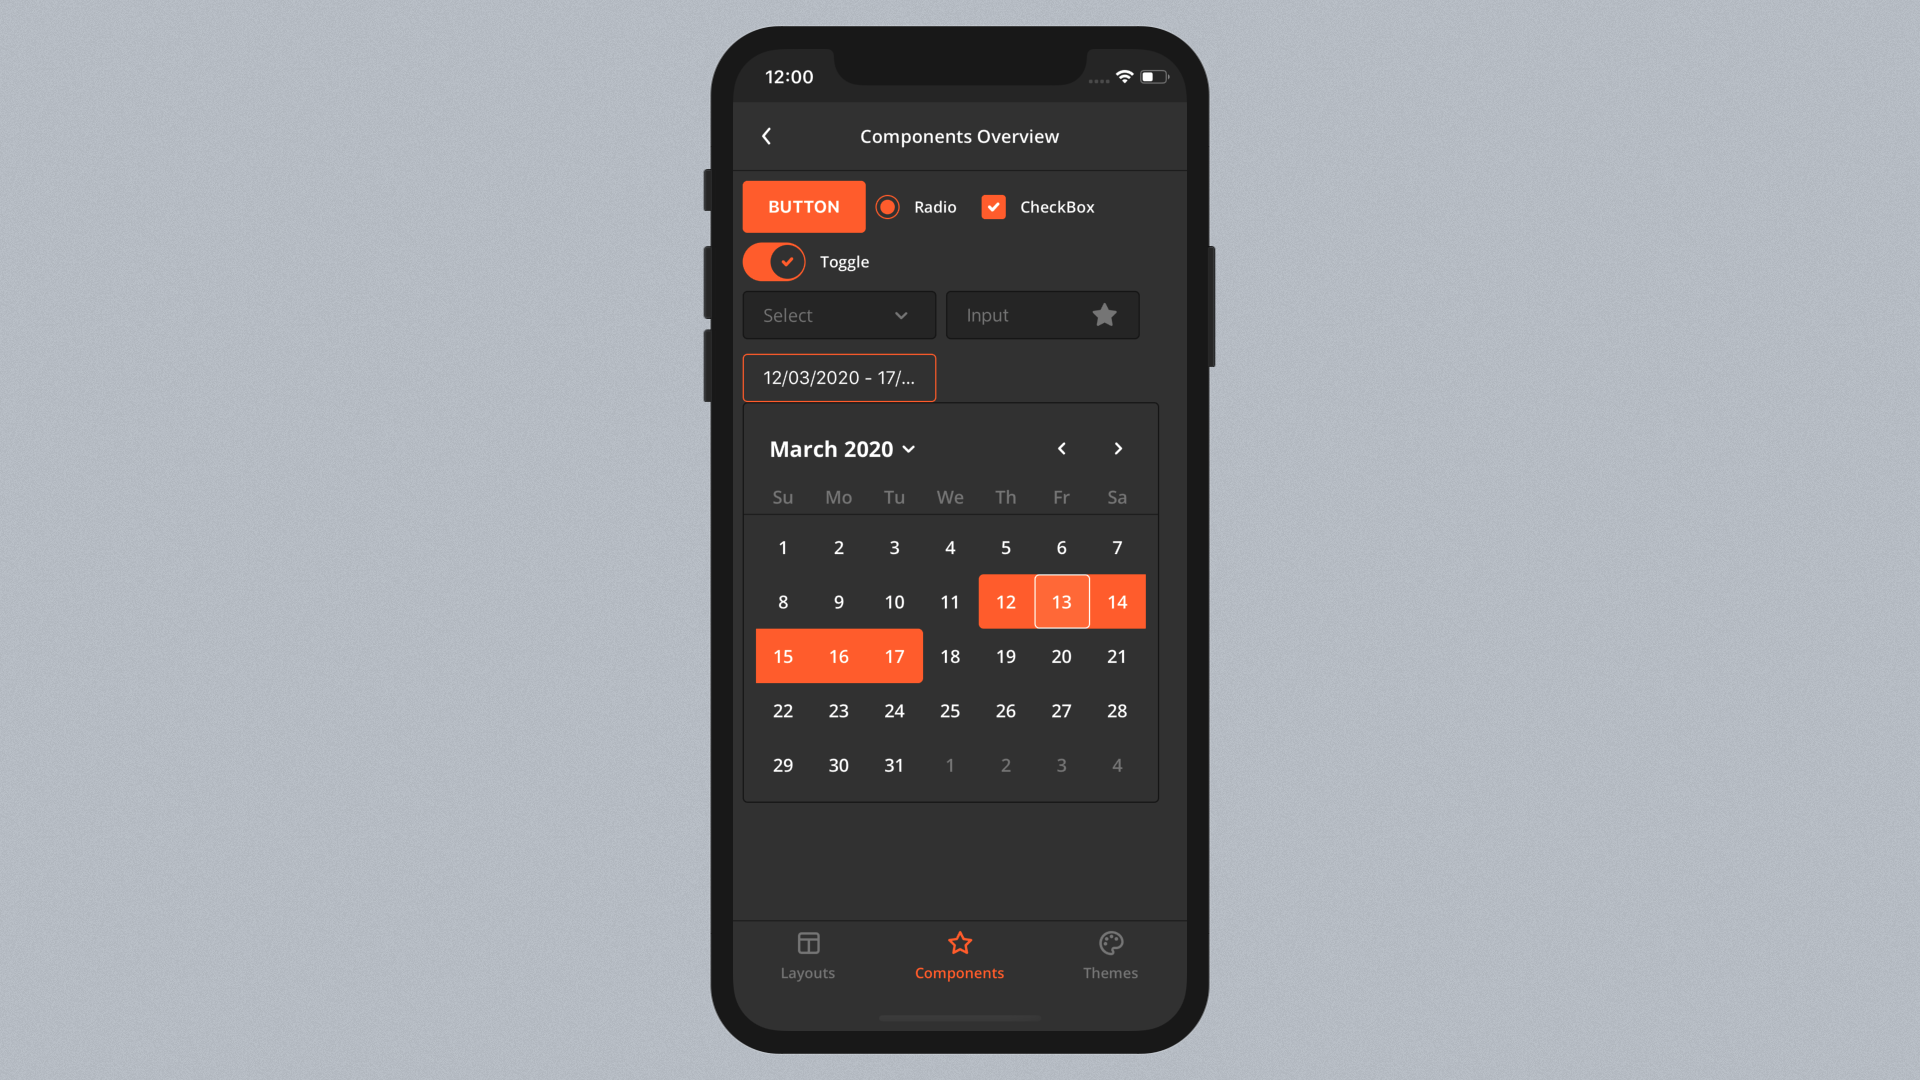
As a result, container components and nested controls should become darker.
Text and Icons
As well as Backgrounds, Text and Icon colors are controlled by Basic shades. In a dark theme, text colors utilize the upper part of the shades (whitish colors) and backgrounds in the lower part.
Sometimes it is required to make Text lighter or darker without modifying Basic palette in order not to break backgrounds. This can be done by configuring extra text variables. Let's take a look at the most useful of them:
text-basic-colorused everywhere as the default text color.text-hint-colorused for placeholders, labels, captions, subtitles and icons in its default state.text-disabled-colorused within every control in a disabled state.
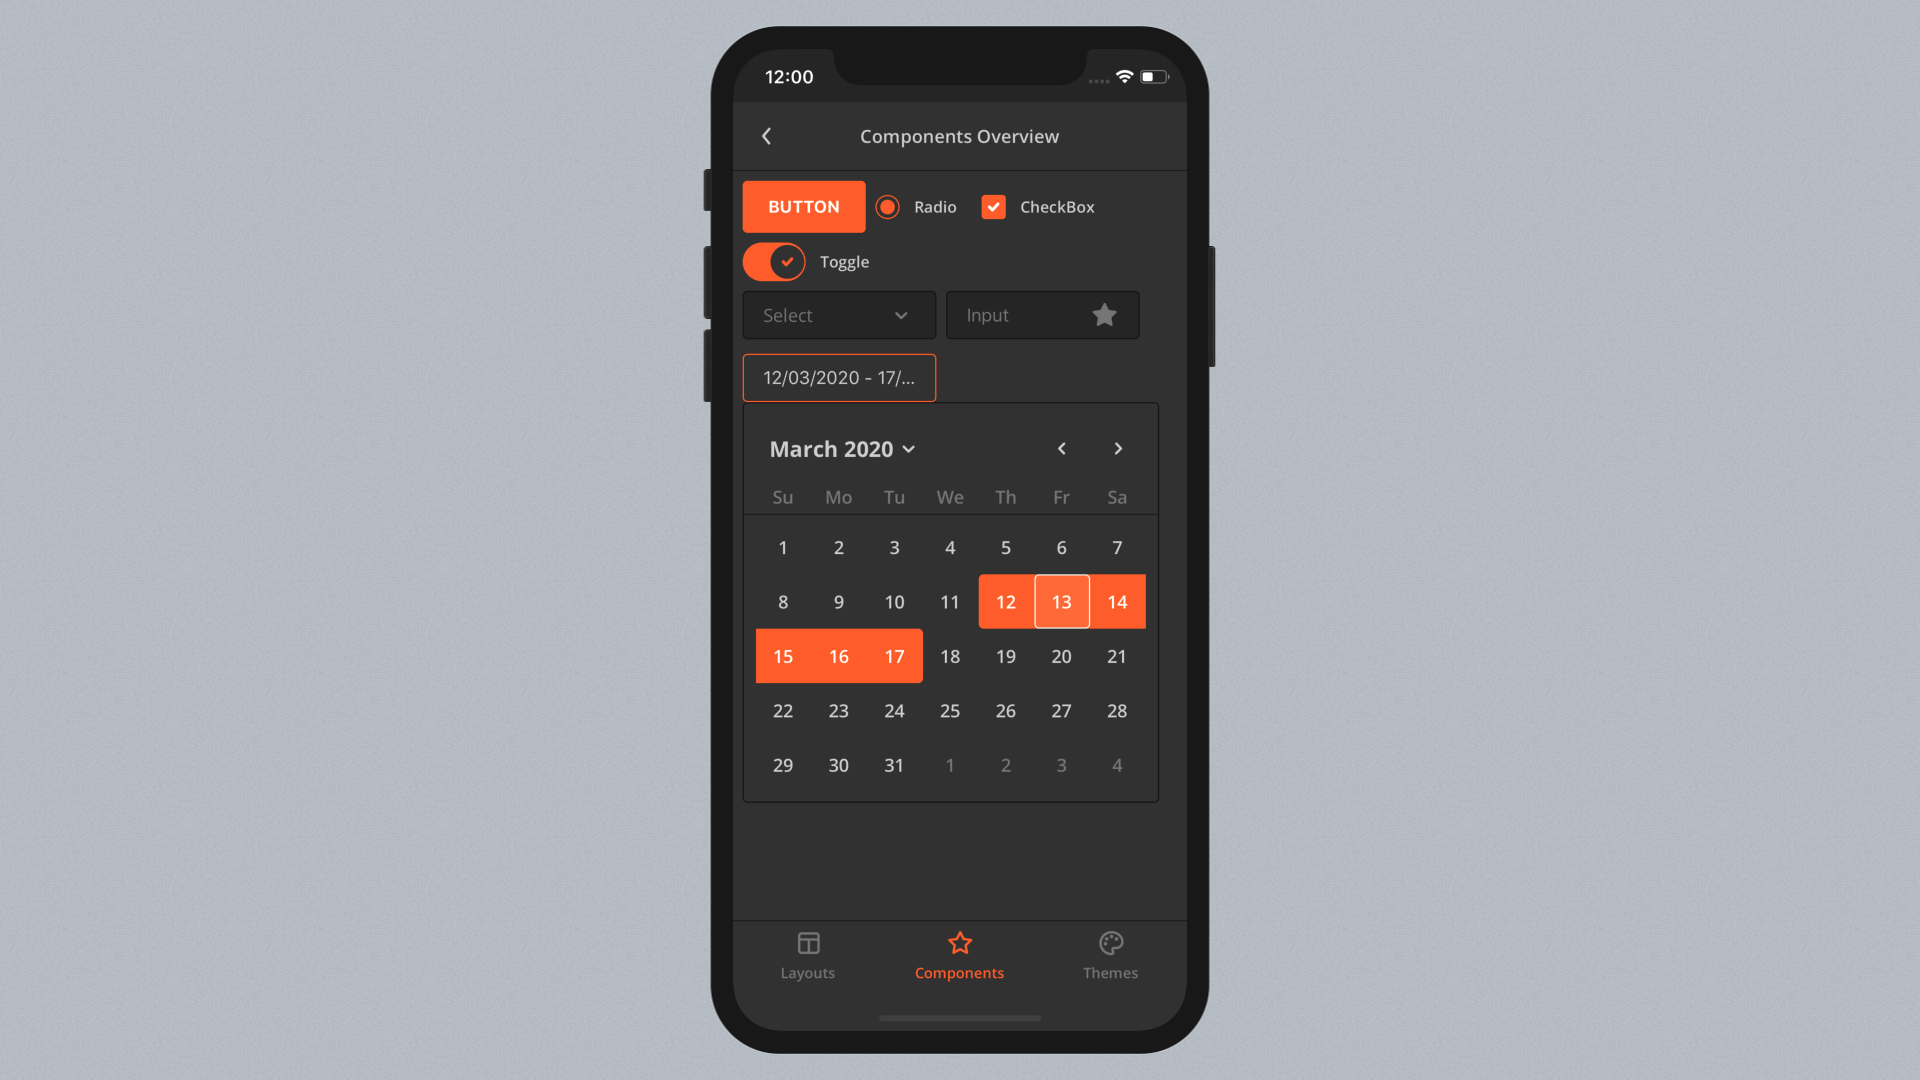
So, to tweak text more accurately, we may add these variables to theme.json to override its default value. Let's make the default text darker. We may use the value of another theme variable by creating a reference with $ sign. This will be handled by UI Kitten.
{
  "text-basic-color": "$color-basic-400"
}
Typography
If your product relies on custom fonts, start with copying .ttf file and paste it into assets directory. Eva is designed with Open Sans.
In React Native, fonts can be configured with React Native CLI. Create a react-native.config.js file and paste the following code:
module.exports = {
  project: {
    ios: {},
    android: {},
  },
  assets: ['./assets'],
};
Run npx react-native link from the project root to link fonts with the native side. When it's done, create a mapping.json file and paste the code below to apply fonts to UI Kitten components.
{
  "strict": {
    "text-font-family": "OpenSans-Regular"
  }
}
Then go to the App.js and add customMapping property:
import React from 'react';
import * as eva from '@ui-kitten/eva';
import { ApplicationProvider, Layout, Button } from '@ui-kitten/components';
import { default as theme } from './theme.json'; // <-- Import app theme
import { default as mapping } from './mapping.json'; // <-- Import app mapping

export default () => (
  <ApplicationProvider
    {...eva}
    theme={{ ...eva.dark, ...theme }}
    customMapping={mapping}>
    <Layout style={{ flex: 1, justifyContent: 'center', alignItems: 'center' }}>
      <Button>HOME</Button>
    </Layout>
  </ApplicationProvider>
);
Now, by reloading the application, custom fonts should be applied.
Advanced Configuration
In the previous step, we made a single font be used globally. In case we need to configure it more accurately, we may use Text Categories. A single text category controls fontSize, fontWeight and fontFamily.
There are 13 text categories in Eva:
- Headings: h1, h2 ... h6
- Subtitles: s1 and s2
- Paragraphs: p1 and p2
- Captions: c1 and c2
- Label.
You may configure text categories with saving the consistency across UI Kitten components by modifying mapping.json:
{
  "strict": {
    "text-font-family": "OpenSans-Regular",

    "text-heading-1-font-size": 36,
    "text-heading-1-font-weight": "800",
    "text-heading-1-font-family": "OpenSans-Bold",

    "text-subtitle-1-font-size": 15,
    "text-subtitle-1-font-weight": "600",
    "text-subtitle-1-font-family": "OpenSans-SemiBold",

    "text-paragraph-1-font-size": 15,
    "text-paragraph-1-font-weight": "400",
    "text-paragraph-1-font-family": "OpenSans-Regular",

    "text-caption-1-font-size": 12,
    "text-caption-1-font-weight": "400",
    "text-caption-1-font-family": "OpenSans-Regular",

    "text-label-font-size": 12,
    "text-label-font-weight": "800",
    "text-label-font-family": "OpenSans-Bold"
  }
}
Summary
There are 9 shades for each semantic color (primary in this example), and 6 shades for the same color with transparency.
{
  "color-primary-100": "#FFECD2",
  "color-primary-200": "#FFD3A6",
  "color-primary-900": "#7A0C06",

  "color-primary-transparent-100": "rgba(255, 103, 33, 0.08)",
  "color-primary-transparent-200": "rgba(255, 103, 33, 0.16)",
  "color-primary-transparent-600": "rgba(255, 103, 33, 0.48)"
}
These colors define the rules of how another theme variables are used and should never be used directly in code. Transparent palette is always a -500 color with an alpha channel. It is needed for disabled, outlined and ghost controls.
There are 5 stateful color variables for each semantic color.
{
  "color-primary-default": "$color-primary-500",
  "color-primary-hover": "$color-primary-400",
  "color-primary-focus": "$color-primary-600",
  "color-primary-active": "$color-primary-600",
  "color-primary-disabled": "$color-basic-transparent-300"
}
Semantic colors are always used with its borders.
{
  "color-primary-default-border": "$color-primary-default",
  "color-primary-hover-border": "$color-primary-hover",
  "color-primary-focus-border": "$color-primary-700",
  "color-primary-active-border": "$color-primary-active",
  "color-primary-disabled-border": "$color-primary-disabled"
}
There is a special color within the semantic group - Basic. It has 11 shades. Also, its transparent palette is always a -600 color with alpha channel. Be careful when working with basic, as it is used by both backgrounds and text.
There are 4 levels of background used by Layout, Input and similar to it components.
{
  "background-basic-color-1": "$color-basic-800",
  "background-basic-color-2": "$color-basic-900",
  "background-basic-color-3": "$color-basic-1000",
  "background-basic-color-4": "$color-basic-1100"
}
For instance, default background level is 1 (background-basic-color-1). And that's why Input looks well on it by using level 2.
Conclusion
In this guide, you learned how to configure custom theme with Eva Design System.
By moving to the next guide, you will learn how to use icon packages in React Native.